After you have created and configured your form you can install it into your Wordpress site in just a few steps. We recommend using 99Inbound’s ‘styled’ forms for embedding in wordpress.
Forms are easy to install onto a wordpress website in either a post or a page but you cannot copy/paste the form code directly. Instead you need to use a plugin.
Steps:
- Install the Code Embed plug-in
- Add the 99inbound form code as a custom field to a post or page
- Add the custom field to your post or page
- That’s it!
Installing Code Embed
Navigate to the wordpress admin dashboard for your website (typically http://yourwebsite.com/wp-admin.php), and click Plug-ins > Add New
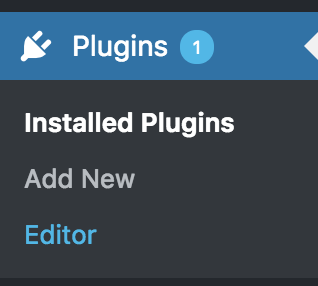
Search for ‘Code Embed’, then both install and activate the plug-in.

Enable Custom Fields
Before you can use the plug-in, you need to enable custom fields in your screen options. Go to any page or post, click screen options at the top, and make sure ‘custom fields’ is enabled.
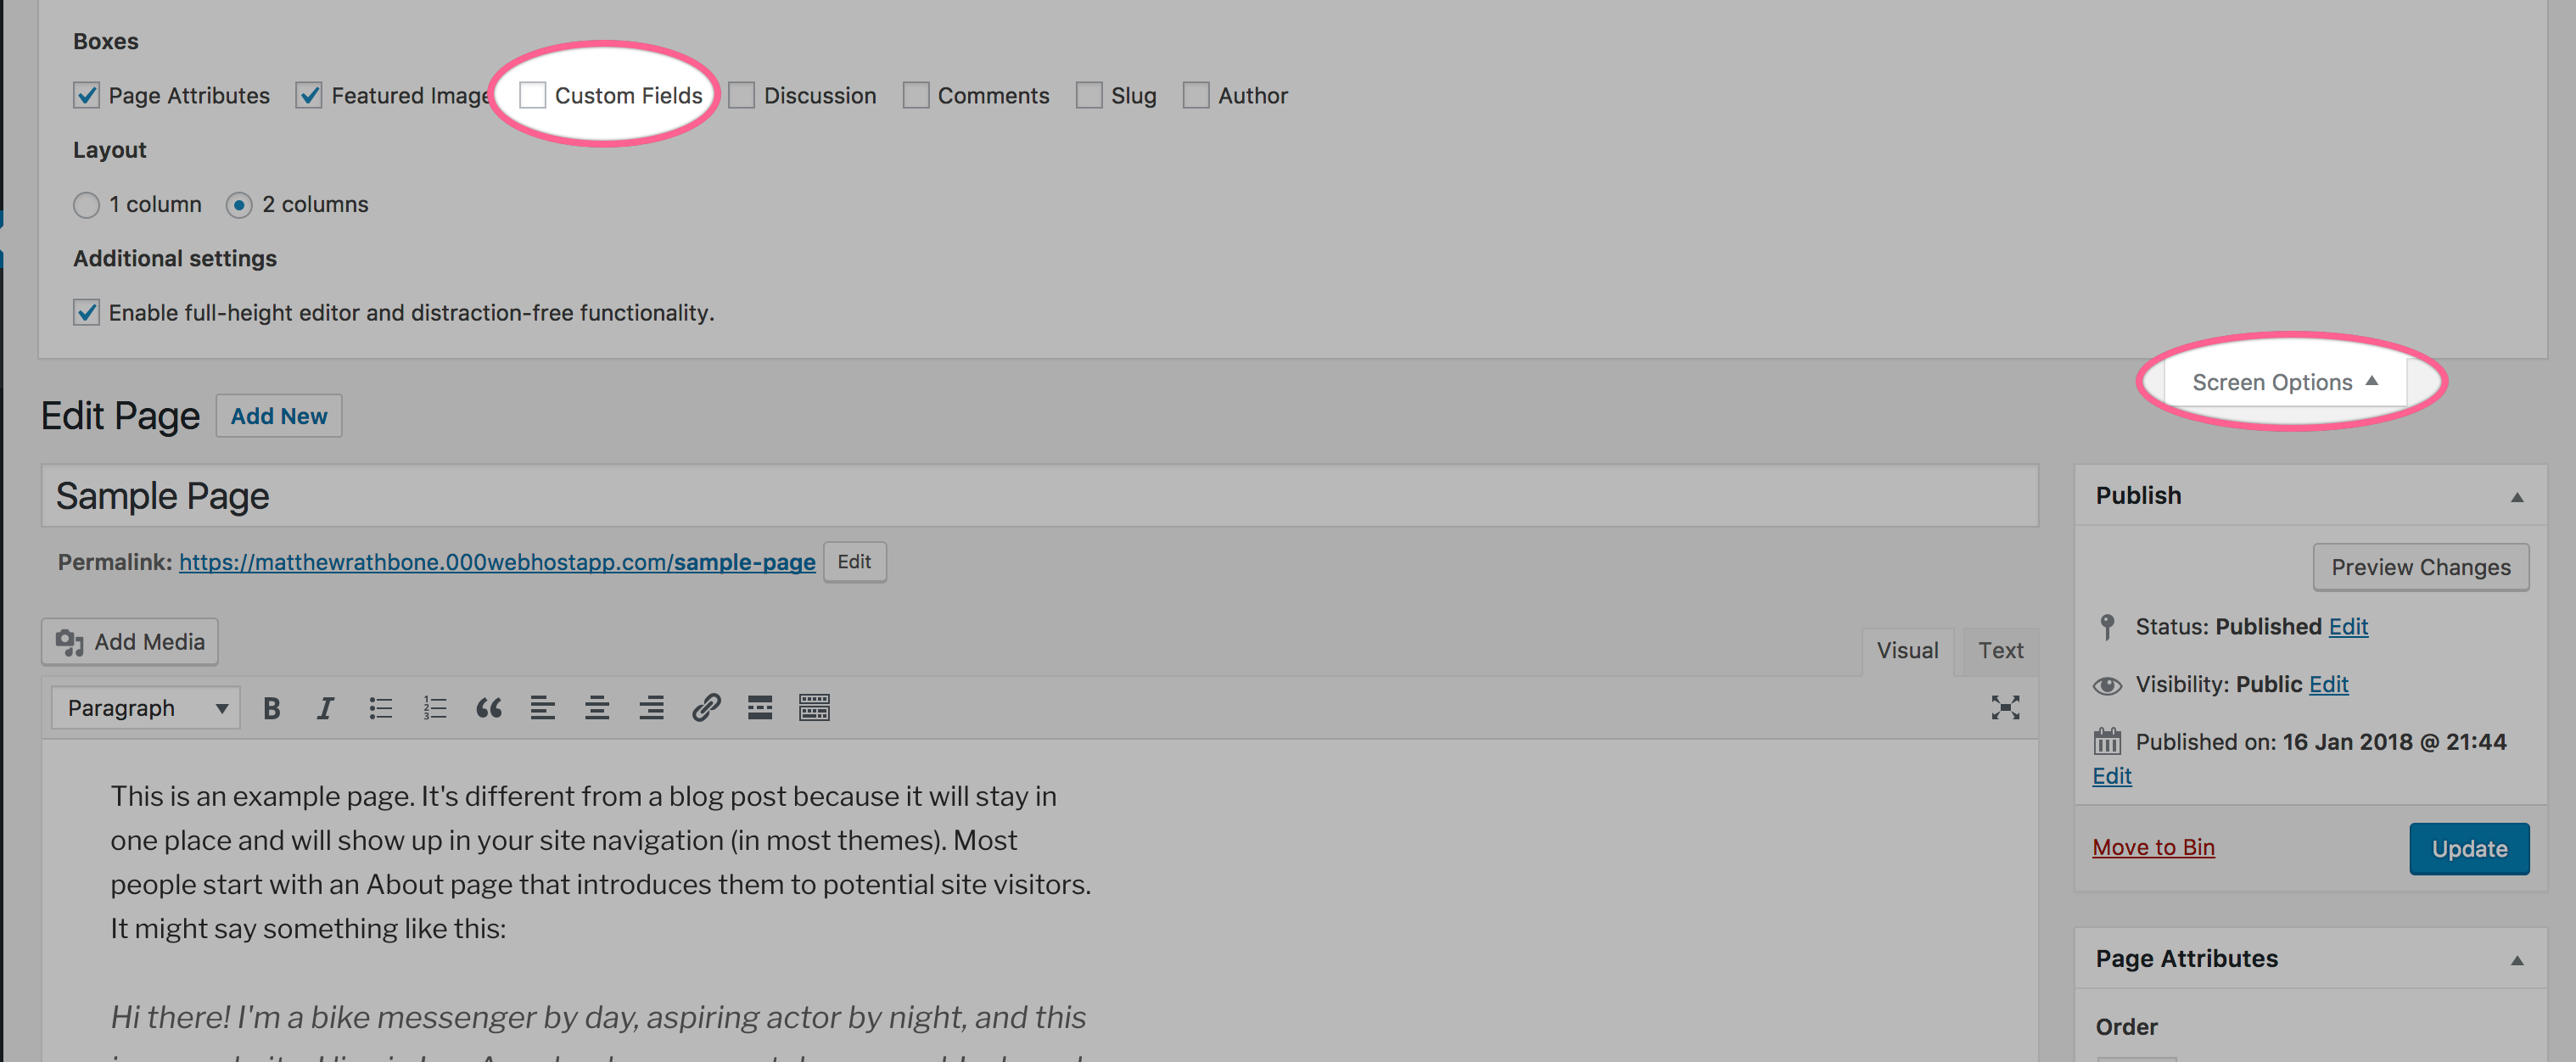
Adding a form to a post or page
All that is left is to add the form to our post or page. This takes about a minute.
Create a custom field
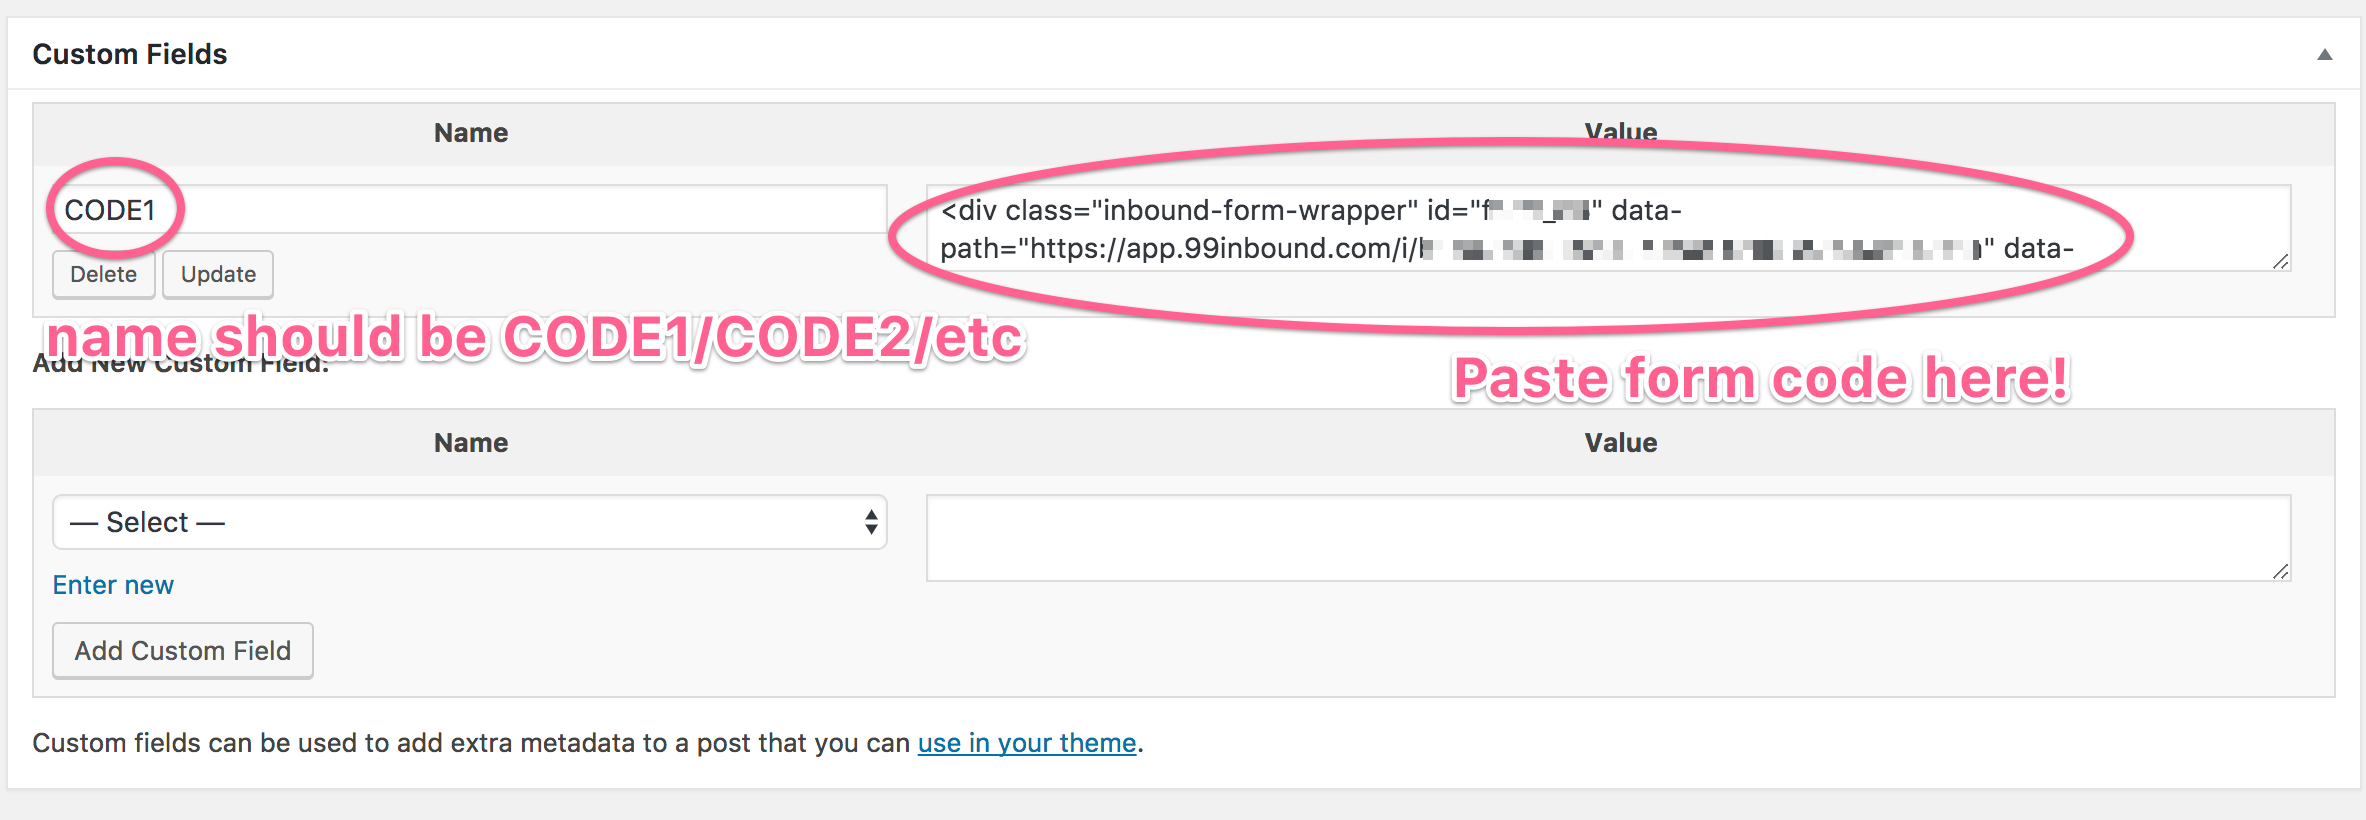
Edit the post or page that you wish to add your form to and scroll down to the ‘custom fields’ section below the content editor.
Create a new custom field with the name CODE1 and paste your form code as the value.
Add it to your post or page
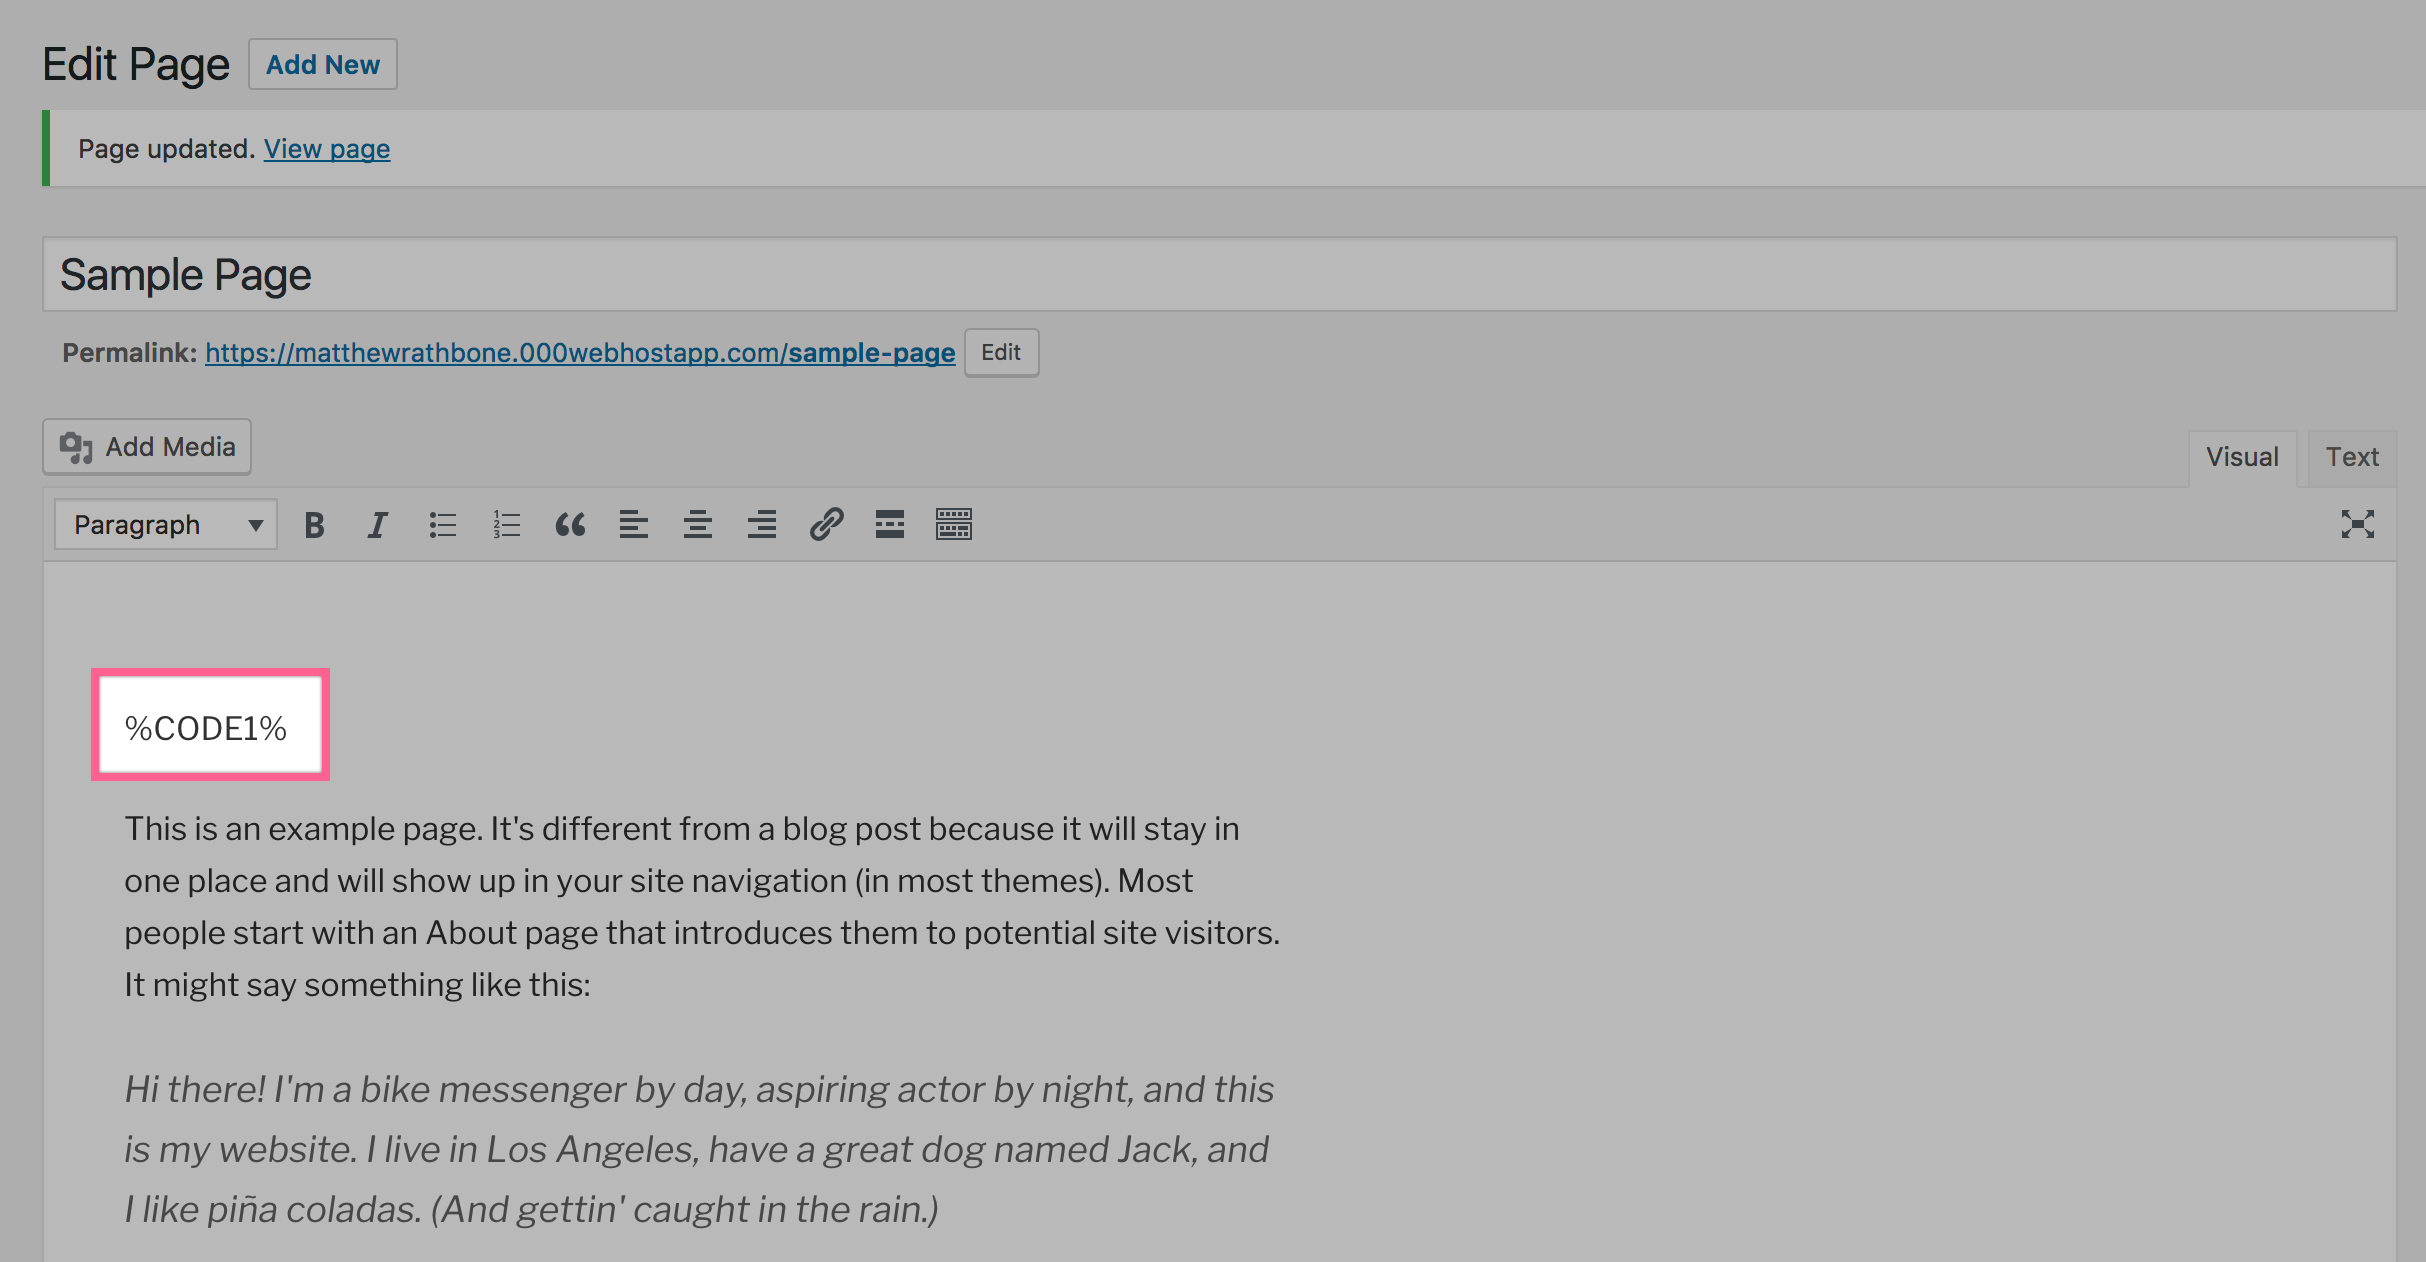
Within the content editor for your post or page type in the value %CODE1% wherever you would like your form to be. Then save the page.
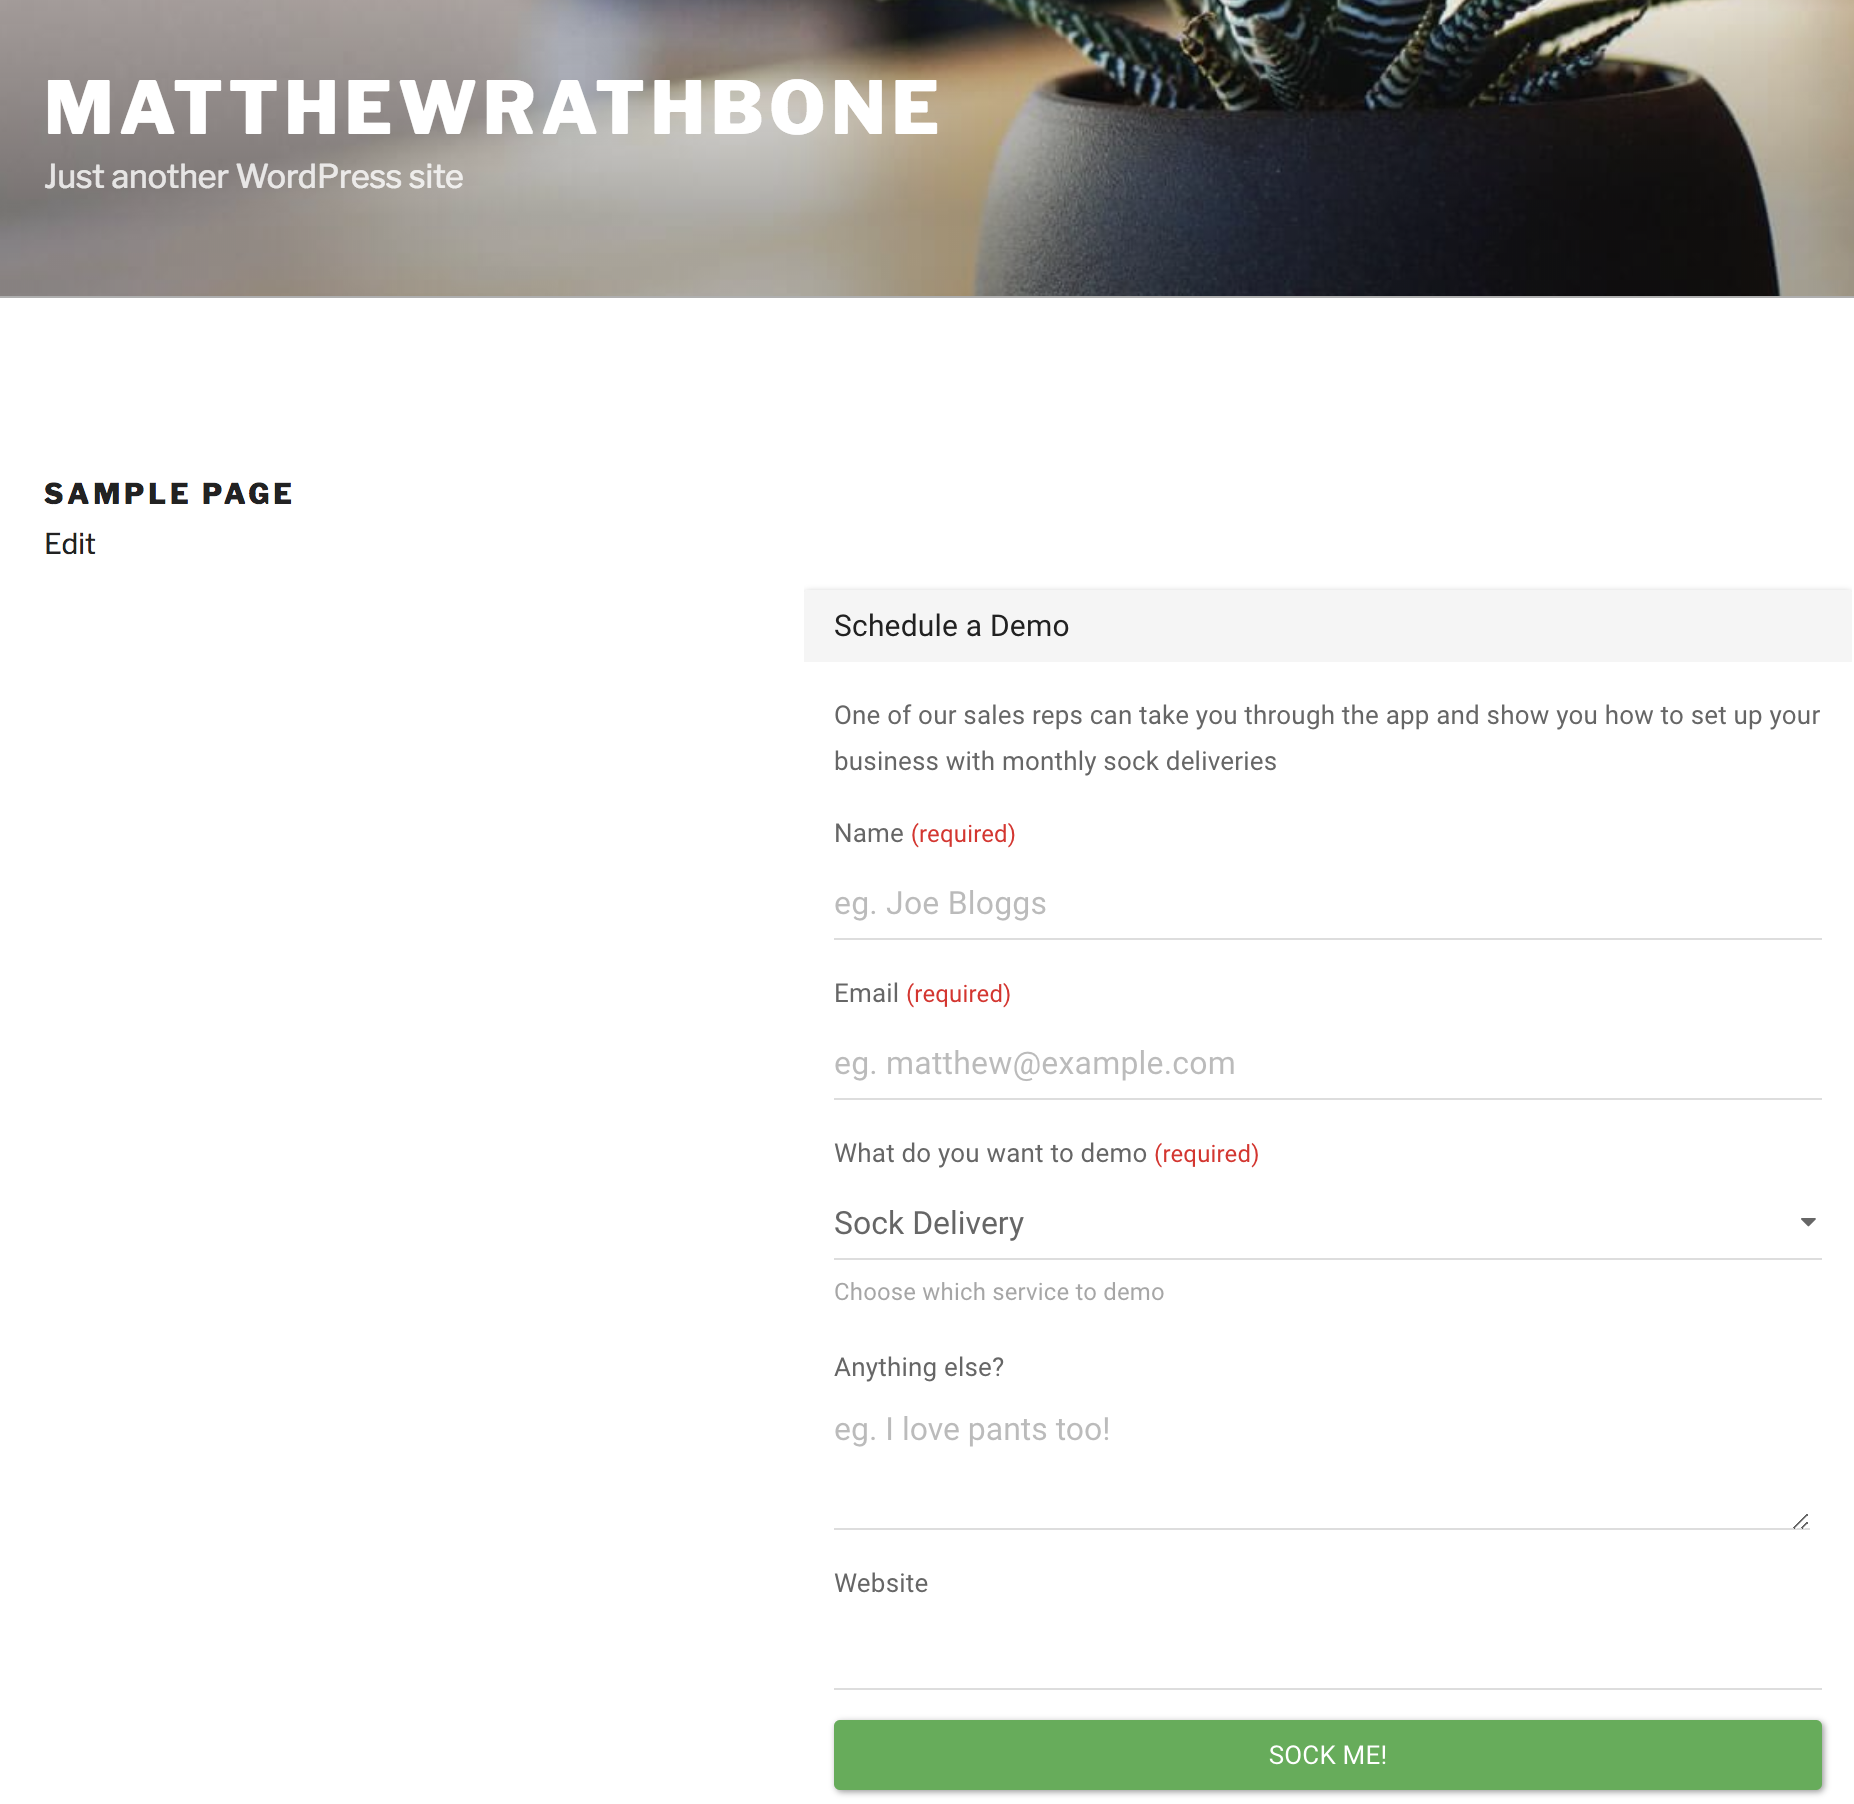
That’s it, navigate to your finished webpage and you’ll see your 99Inbound form proudly embedded in the page.
Additional Information
- The code embed plug-in documentation can be found here
- You can only add one form per-page with this configuration. If you need to add a second form to the same page you need to create a second custom field (Called CODE2), and enter only the first portion of the embed code from 99Inbound, omiting the
<script>portion.